How to Create Demo Videos for Your Marketing Pages
Demo videos on landing pages convert better than static images. Learn to plan, record, and polish device-framed videos for hero and feature sections.
Autor
Gregory John
Demo videos help visitors understand your product in seconds. This guide covers how to plan, record, and produce professional device-framed videos for your hero sections, feature blocks, and landing pages—turning passive viewers into engaged users.
What Is a Demo Video?
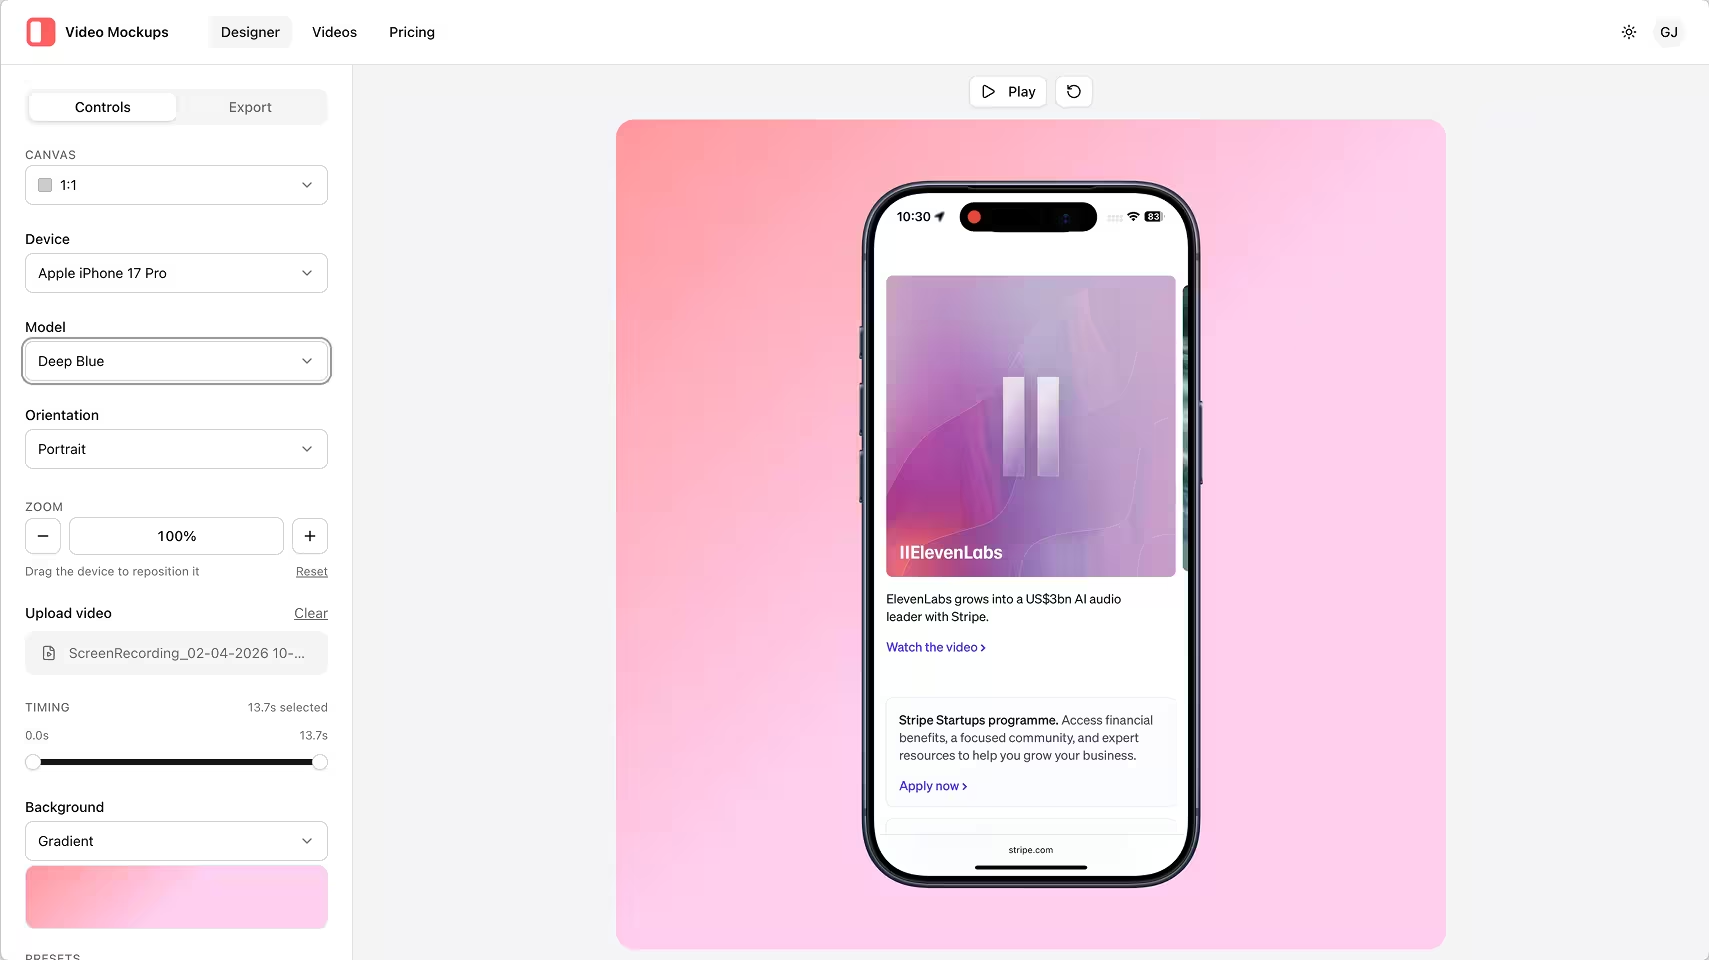
A demo video is a short screen recording of your app wrapped in a realistic device frame. Instead of static screenshots, visitors see your product in motion—taps, scrolls, and transitions that communicate functionality instantly.
This means: visitors grasp what your app does without reading a single paragraph of copy.
Why Demo Videos Convert Better Than Static Images
Marketing pages with motion assets outperform static imagery for both attention and retention. When viewers watch your app in action, they imagine themselves using it. This mental simulation drives engagement more effectively than any screenshot.
| Asset Type | Attention | Retention | Conversion Impact |
|---|---|---|---|
| Static screenshot | Low | Low | Baseline |
| GIF animation | Medium | Medium | +15-20% |
| Device-framed video | High | High | +25-35% |
The key takeaway: Video delivers your value proposition faster than text or images alone.
How Videos Build Trust
A polished demo video signals quality and attention to detail—qualities visitors associate with your app itself. A poorly made video creates doubt, even if the app is excellent.
How to Plan Your Demo Video
Before recording, planning saves hours and produces better results.
Define Your Target Audience
Understanding your audience shapes every decision:
- Casual users want to see simplicity and ease of use
- Power users want to see advanced features and customization
- Business users want to see efficiency gains and ROI
- First-time users in your category need more context
Identify Your Core Message
What single thing should viewers remember? Not a feature list—the transformation your app enables.
For example:
- "Edit professional videos on your phone in minutes"
- "Never miss an important task again"
- "Connect with your team from anywhere"
Write this message down. Every scene in your video should support it.
Script Your Key Moments
Plan the structure before recording:
- The Hook (0-3 seconds): Your most impressive feature or a relatable problem
- The Problem (3-8 seconds): The pain point your app solves
- The Solution (8-25 seconds): Your app in action solving that problem
- The Result (25-30 seconds): The outcome or next step
In summary: A 30-second video needs roughly four moments, not ten features.
How to Record High-Quality Screen Footage
The quality of your recording directly impacts perceived product quality.
Choose the Right Resolution
Always record at the highest resolution possible:
- iPhone: 1290 x 2796 (iPhone 15 Pro Max) or your target device's native resolution
- iPad: 2732 x 2048 (12.9" iPad Pro) for maximum flexibility
- Android: Native resolution, typically 1440p or higher
- Desktop: 1920 x 1080 minimum, 4K preferred
You can scale down in post-production. You cannot scale up without losing quality.
Prepare Your Device Before Recording
Essential pre-recording checklist:
- Enable Do Not Disturb—notifications ruin takes
- Clear existing notifications from lock screen and notification center
- Check battery level—low battery warnings interrupt recording
- Close background apps for smooth performance
- Use realistic sample data—"Lorem ipsum" looks unprofessional
Maintain Consistent Timing
Pace matters more than you think. Move too fast and viewers miss what's happening. Move too slow and they lose interest.
The rule: Perform each action at 80% of your natural speed. This gives viewers time to process without feeling sluggish.
Record Multiple Takes
Plan to record each sequence at least three times:
- First take: Work out the kinks
- Second take: Refine timing and movements
- Third take: Capture the polished version
Having options makes editing easier.
How to Choose the Right Device Frame
A device frame transforms flat screen recordings into premium product showcases.
Match Device to Audience
Different devices appeal to different demographics:
| Device | Audience Signal |
|---|---|
| iPhone Pro | Tech enthusiasts, premium users |
| Standard iPhone | Mainstream consumers |
| iPad | Productivity, professional use |
| MacBook | Professionals, creatives |
Choose what your target audience actually uses, not what looks coolest.
Consider Color Psychology
Device colors carry subtle associations:
- Space Black/Space Gray: Professional, sophisticated, premium
- Silver/White: Clean, modern, minimalist
- Gold: Luxury, success, aspiration
- Colorful options: Youthful, creative, approachable
The frame color should complement your app's color scheme.
Think About Composition
How the device fits into your final video matters:
- Centered devices work for single-feature highlights
- Off-center placement creates space for text overlays
- Multiple devices show cross-platform compatibility
- Angled presentations add visual interest
How to Design Effective Backgrounds
Backgrounds significantly impact the overall impression.
Solid Colors
Solid backgrounds keep focus on your app:
- Brand primary color for strong association
- Neutral colors (white, gray) for universal appeal
- Ensure contrast with your device frame
Gradient Backgrounds
Gradients add sophistication without distraction:
- Subtle gradients (same hue, different saturation) feel modern
- Match gradient colors to your brand identity
- Avoid harsh color transitions
Video Backgrounds
Animated backgrounds add energy but require caution:
- Abstract animations keep focus on your app
- Lifestyle footage establishes emotional context
- Background should enhance, never compete with app content
Post-Production Best Practices
Raw footage is just the beginning.
Trim Aggressively
Review footage and cut ruthlessly:
- Remove hesitation and mistakes
- Eliminate redundant actions (scrolling back and forth, repeated taps)
- Keep total length appropriate: 10-30 seconds for hero sections, up to 60 seconds for product tours
Add Smooth Transitions
Transitions maintain engagement:
- Dissolves: Gentle, professional between similar content
- Cut on action: Transition during movement for seamless flow
- Zoom transitions: Dynamic and attention-grabbing
Avoid overusing flashy transitions—they make videos feel amateur.
Use Text Overlays Strategically
Text helps viewers understand what they're seeing:
- Keep text brief (3-5 words per callout)
- Use brand fonts consistently
- Ensure readability at all viewing sizes
- Position text where it doesn't obscure app content
Design for Silent Playback
Most marketing page videos autoplay muted:
- Add captions or text callouts for key moments
- Rely on visual storytelling, not voiceover
- Use loopable endings so the video feels seamless
Platform-Specific Optimization
Different placements need different approaches.
Hero Sections
Hero videos are the first thing visitors see:
- Keep videos 10-15 seconds maximum
- Focus on one "wow" moment, not a feature tour
- Optimize file size for fast loading
- Use looping with seamless end-to-start transition
Feature Sections
Feature videos explain specific capabilities:
- 15-30 seconds per feature
- Show the problem and solution clearly
- Include text callouts for context
- Can be slightly more detailed than hero videos
Social Media
Each platform has unique requirements:
- Instagram/TikTok: Vertical (9:16), hook in first second, captions essential
- Twitter/X: Square (1:1) or horizontal (16:9), autoplay without sound
- LinkedIn: Horizontal (16:9), professional tone
- YouTube: Horizontal (16:9), can be longer form
How to Measure Video Performance
Track performance and iterate based on data.
Key Metrics
- View completion rate: Are people watching to the end?
- Click-through rate: Are viewers taking action?
- Conversion rate: Do video viewers convert at higher rates?
- A/B test results: How do different versions compare?
What to Test
Based on metrics, consider testing:
- Different hooks (first 3 seconds)
- Alternative feature highlights
- Various background styles
- Shorter or longer versions
Common Mistakes to Avoid
Showing Too Many Features
The temptation is to showcase everything. Resist it. Focus on 2-3 key features that address your audience's primary pain points.
Neglecting Mobile Viewers
Most views happen on mobile. Ensure text is readable and your app UI is visible on small screens.
Forgetting the Call to Action
Every demo video should lead somewhere. Whether it's "Start free trial" or "Learn more," tell viewers what to do next.
Using Outdated Recordings
Nothing undermines trust like showing an old version of your app. Update demo videos when you release significant UI changes.
Get Started
Creating professional demo videos requires planning and attention to detail, but the tools available today make it accessible without video editing expertise.
Video Mockups lets you add device frames and backgrounds to your screen recordings in minutes. Upload your footage, choose a device, customize your background, and export—ready for your hero section or feature blocks.